

Growing Crystals
 Crystals are made up of specific molecules in specific orientations. They grow in regular geometric patterns, with set angles. Some crystals are shaped like cubes with 90 degree angles, some can be more diamond-shaped, and still others can be many-sided prism shapes.
Crystals can form in two different ways: either they grow from solutions of molecules dissolved in water, like in the case of geodes, or they grow from molten rock as it cools slowly underground (magma) or quickly aboveground (lava). Have you ever thought you could make your own crystals? Here’s your chance!
The Experiment
Since it’s pretty hard to find volcanoes that are safe to experiment with, and making your own lava at home is a pain, making crystals from solutions is probably your best bet. What you’ll actually do is to take powders or really small crystals from around your home and dissolve them in water, then let them grow on a surface so they will get big and beautiful!
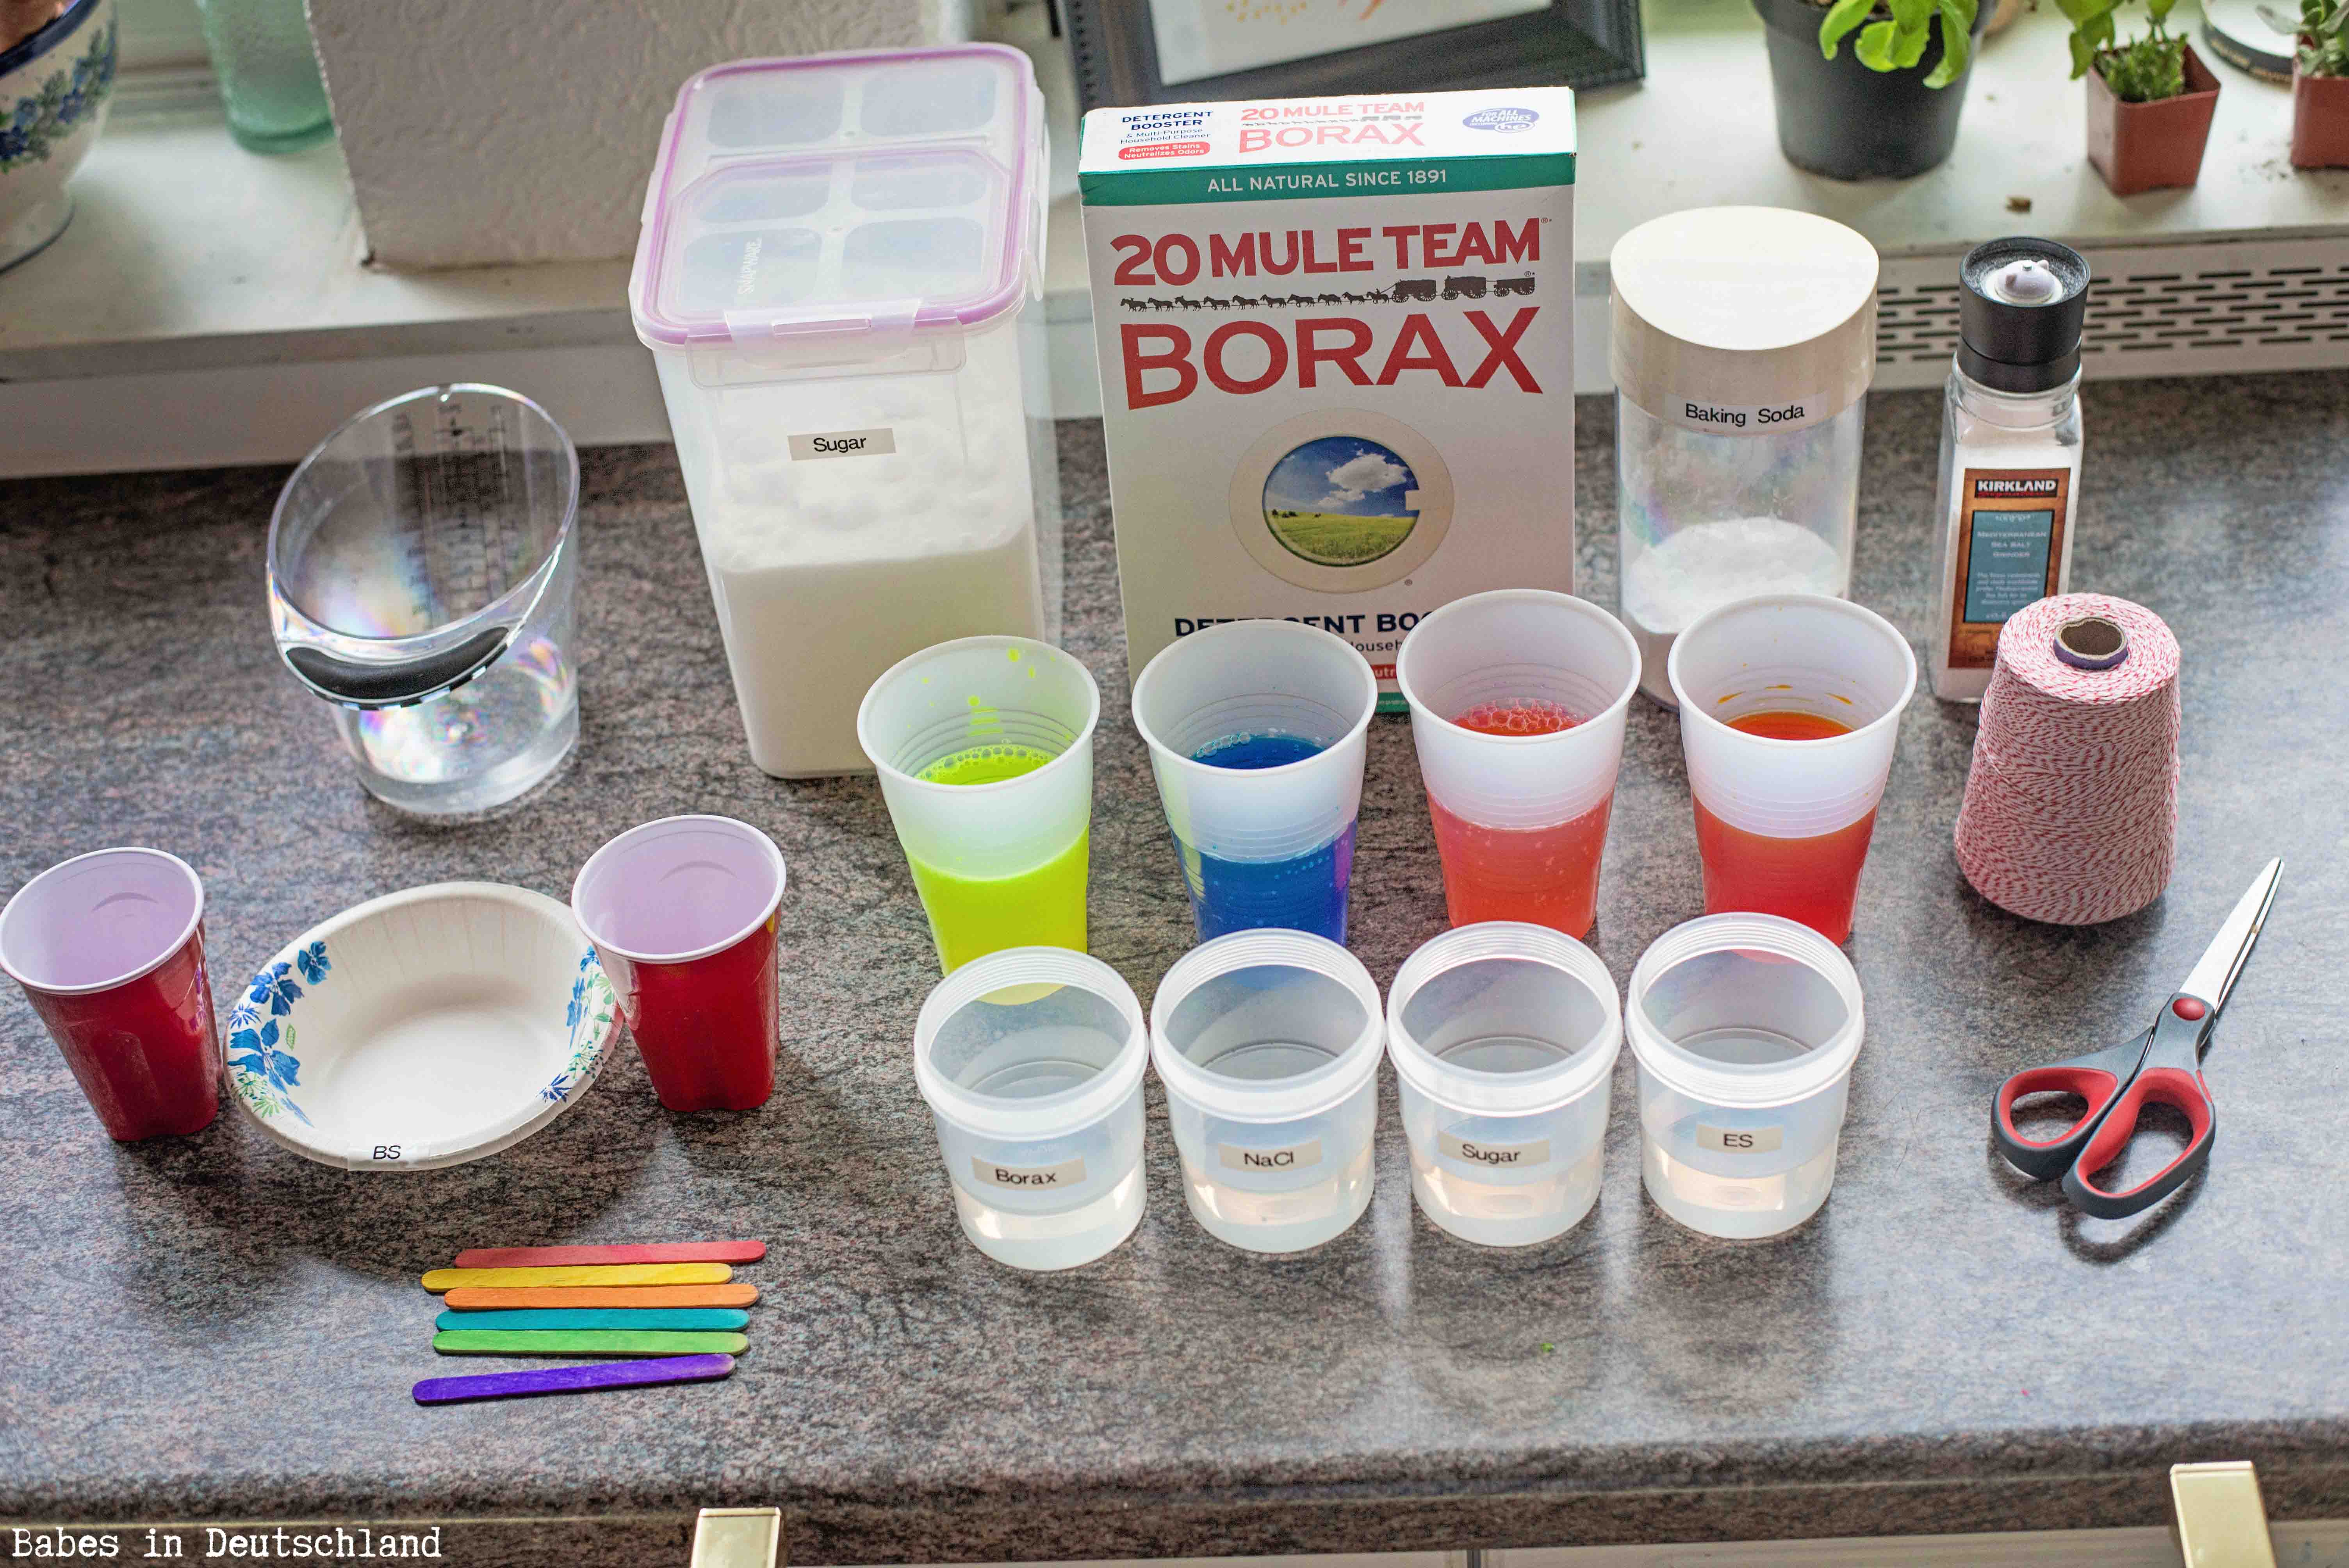
What to Use
- salt
- sugar
- borax
- water
- pipe cleaners
- popsicle sticks or barbeque skewers
- cups
- pot for boiling water
- masking tape and pen for labelling
- food colouring (optional)
What do you think will happen?
Read the “What to Do” section carefully before you get started, and make sure you understand what the experiment will do. Think about the different crystals that you will make. Will some grow faster than others? Will some get bigger while others stay small? Can you guess what shapes of crystals the different minerals will produce?
What to Do
STEP 1 – Preparing Crystal Substrate
A “substrate” is a bottom layer, or a base for your crystals to grow on. Here’s how to prepare one:
a) Prepare a cup or 2 for each type of crystal. Label your cups “Salt”, “Sugar”, or “Borax” so that you can be sure to tell them apart when they’re finished.
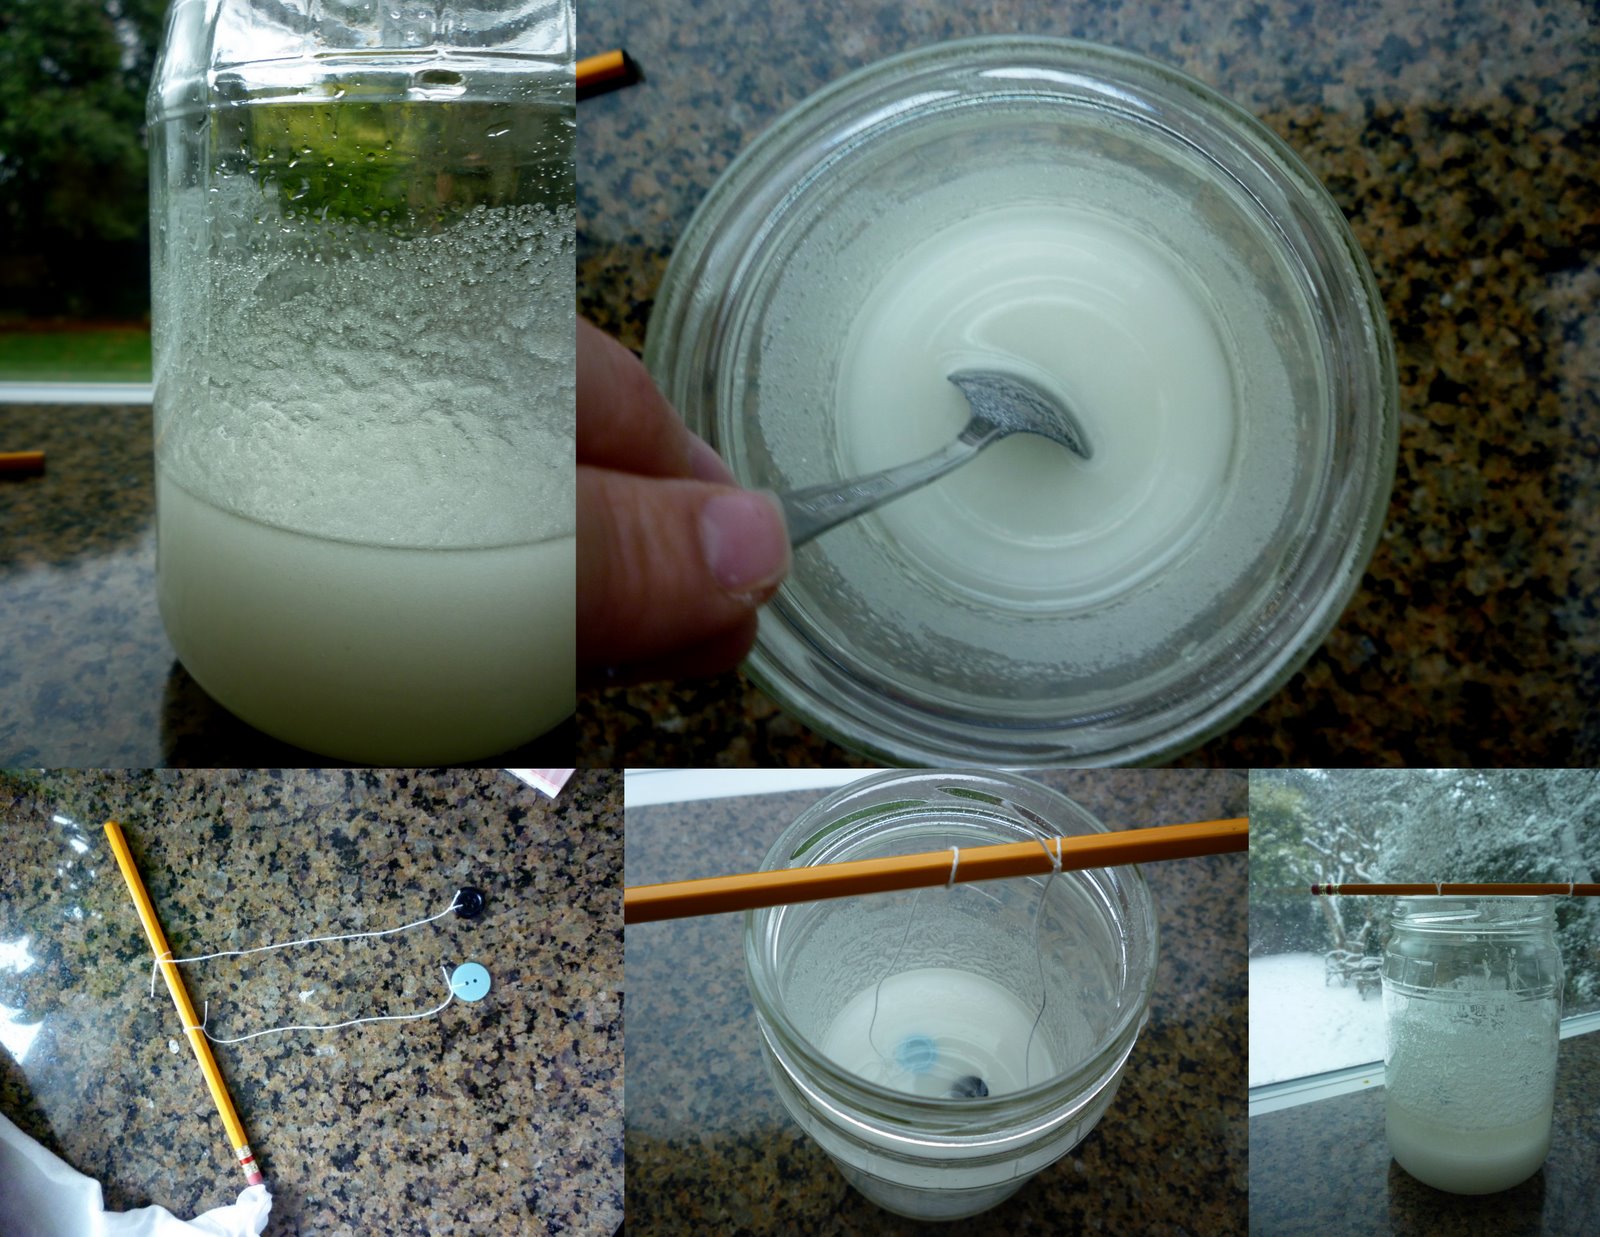
b) Bend your pipe cleaners into shapes like stars, diamonds, circles, or whatever else you wish, but leave a “tail” on each shape. Use one pipe cleaner for each cup.
c) Place a popsicle stick or a skewer across the top of a cup, then tie the tail of a shape to it, so that the shape hangs down into the cup. Try to make sure the shape isn’t touching the sides of the cup, but that it’s hanging so that the top of the shape is at least 2 cm below the top of the cup. This way, the whole shape will be under water after you fill up the cup.
STEP 2 – Preparing Solutions
In order to give crystals the time and mineral resources they will need to grow large, it’s important to make a very strong solution of each mineral in water. One way to do this is to produce a super-saturated solution. At a given temperature, water can only hold a set number of dissolved molecules. The hotter the water, the more can be dissolved in it. However, if you’re tricky, you can get colder water to hold more dissolved molecules than it should be able to! The way to do this is by heating it up, dissolving as much of a mineral into it as it can hold, then letting it cool down carefully so that the extra molecules don’t “fall out” of solution.
This creates a super-saturated solution. “Saturated” means the solution is holding as much of a dissolved molecule as it normally can at a certain temperature. “Super-saturated” means that you’ve tricked it into holding more than its normal limit. Here’s how…
d) Choose one of your 3 minerals (salt, sugar, or borax) to start with. Here we’ll choose salt, but you can do them in any order you wish. Heat up about 2 cups of water in a small pot. Make sure an adult is supervising to help you keep safe!
e) When the water is getting hot, start adding in salt one spoonful at a time. Stir until all the salt crystals disappear (so you can’t see any sitting at the bottom of the pot). Keep heating the water and adding salt, but you don’t need to let the water boil. Add salt until you stir as much as you like but the crystals don’t dissolve – instead they fall to the bottom. At this point, you have a saturated solution.
OPTIONAL STEP
If you wish, add a few drops of food colouring to the solution. Just a little goes a long way. The colour can also help you remember which solution is which mineral, so put a different colour in each different solution that you make.
f) Pour the solution into the properly labelled cup (for our example, it would be the salt cup) so that the level of the solution is higher than the pipe cleaner shape hanging into it. If you made enough for 2 cups, then fill up 2 labelled cups with the solution.
As the solution cools, it will become super-saturated and this will encourage your crystals to grow. However, super-saturated solutions are unstable, which means that bumping them too roughly may cause some of the dissolved molecules to instantly fall out of solution. They will make a thin hard crust on the top of the cup. Be gentle with the cups and your crystals will grow bigger and better.
g) Repeat STEP 2 with the other two minerals, sugar, and borax. Borax is a naturally mined crystal used in washing powder. It’s not dangerous, but you shouldn’t taste, so be sure you know which crystals are made from borax!
STEP 3 – Watching Crystals Grow
h) The crystals can keep growing as long as the shapes are in the solution, so once your water starts to evaporate and uncover the shapes, your experiment will sadly have to come to an end. This might take several days, depending on how hot and dry your house is. Put the cups in a safe place where they won’t be disturbed and check them every day to see how your crystals are growing.
What Did You Find?
Remember to record your observations. What did you see happen? What do the crystals look like? Were your predictions correct? As with any experiment, think about ways you could make this experiment better if you were to do it again.
If you want to try something different, check out our animal intelligence experiment!