Bacteria Are Everywhere!
 Bacteria have a bad reputation. Sure, there are many different kinds of bacteria that can make us sick, but there are far more kinds of bacteria that are helpful to our lives than those that cause problems for us humans.
Bacteria live inside our bodies and help us to digest food. They live in the soil and help to produce nutrients for plants that we can then eat. Bacteria have been found living in the depths of the ocean, on the edges of volcanoes, and in cracks in rocks in the coldest parts of Antarctica. There are so many bacteria in the world that just one small teaspoon of seawater contains about 5 million bacterial cells!
The Experiment
Bacteria are microscopic, which means that they are too small to be seen by the naked eye. However, if enough of them grow together in a colony, we are able to see them, and also see some of the differences between them. Are you ready to travel down into the invisible world of microorganisms? Here’s one way to grow them.
What to Use
- plastic or glass containers with lids
- water
- pot for boiling water
- tongs
- agar powder (can be found at the local grocery store – agar is used for making jellies and jams)
- beef or chicken broth, with no salt added
- cotton buds, also known as Q-tips
- masking tape and a pen, for labelling
- eyedropper (OPTIONAL)
What do you think will happen?
Before you do the experiment, read through it carefully and make predictions. What do you think will happen? What do you expect to see? Write down what you think will happen!
What to Do
STEP 1 – Preparing Agar Dishes
Agar is a powder that is made from seaweed, and is made out of carbohydrates. It forms a solid gel that you can grow bacteria, plants, and fungi in.
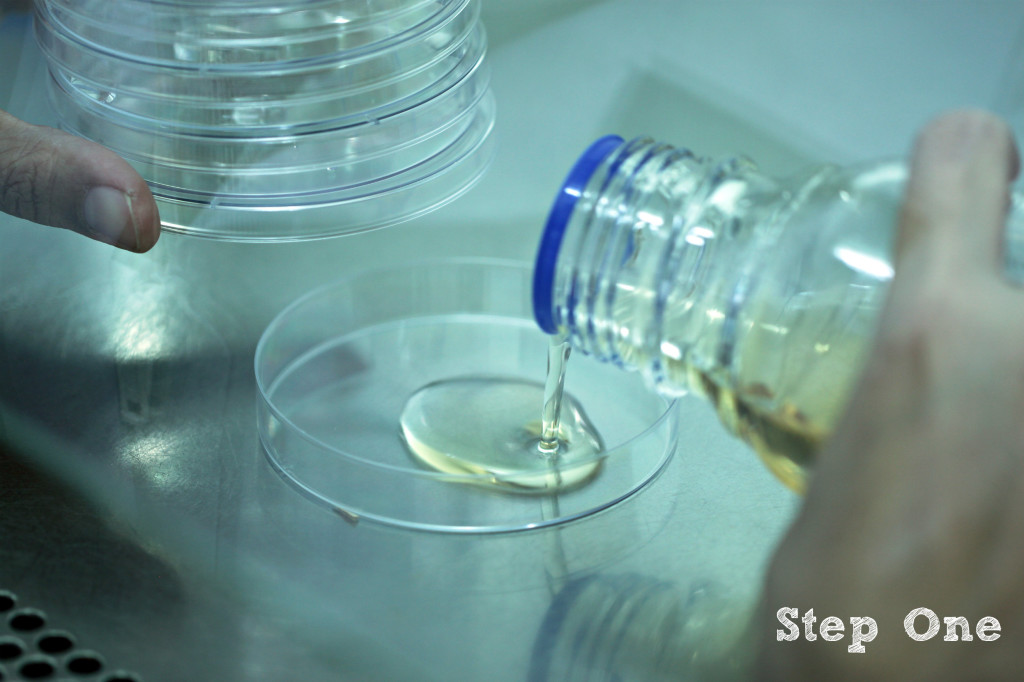
a) With the help of an adult, add water to your pot or kettle and heat it to boiling. Let the water boil for 3-5 minutes, then use tongs to pick up your plastic or glass dishes and either place them in the hot water or pour the water into them. If you use glass dishes, make sure to run warm and then hot water into them first to heat them up, or else they could crack in the very hot water.
What you’re doing here is sterilizing the dishes. This means that the heat will kill any fungi or bacteria already living on the dishes.
b) In your pot, add water, beef/chicken broth, and agar powder. You can add 50mL of water, 10g of agar powder, and 10mL of brother for each dish you want to fill up. Heat the mixture, stirring, until it boils. Once it boils, turn off the heat and let the mixture cool for 1 minute, then pour equal amounts into each of your dishes.
c) Set the dishes aside to cool, and when they are near room temperature put their lids on. Set these aside for the next part of the experiment.
STEP 2 – Collecting Samples and Doing Streaks
Where do you think you can find bacteria in your home or school? Try taking samples from different places and labelling the dishes you put them on.
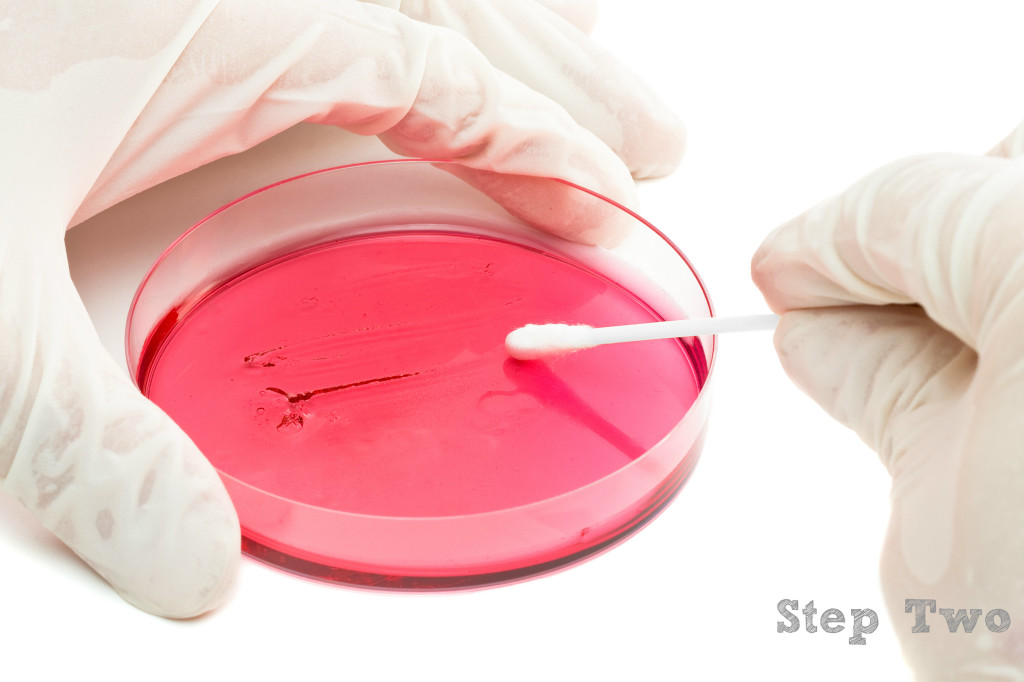
d) Take a different cotton bud for each location you want to check out. Rub one end of the cotton bud over any surface you want to investigate, and remember or record where they each came from.
e) Open up your dishes, which should now be cool and filled with solid agar gel. Don’t touch the gel, or else bacteria from your hands will get on them and not the bacteria from your samples! Take a cotton bud and smear it all over across the surface of the agar on one plate. Be careful just to wipe it on the surface, not to rip into the gel. Repeat this step, using one cotton bud on each of your dishes.
f) Use the tape and a pen to label each dish with the location where your sample came from, for example “Dad’s Desk”, or “Bathroom Mirror”.
OPTIONAL STEP
*If you want to try one extra step, use a medicine dropper to collect tears from your own eyes or from anyone you know who is a crybaby. Tears contain an enzyme called lysosyme that breaks down bacteria’s cells walls and stops them from growing. Drop tears onto your agar gel after you smear your samples on, and label any dishes that you add tears to. See what happens!
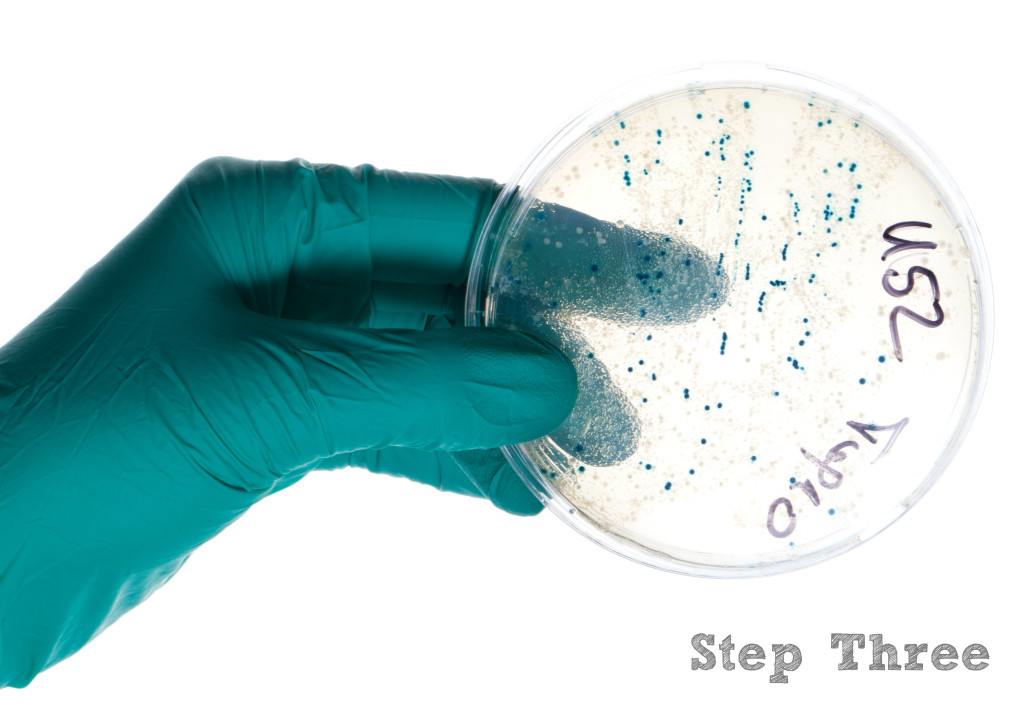
STEP 3 – Make Observations
g) Put the dishes away in a cupboard or anywhere else that they won’t get bumped, disturbed, wet, or affected by sunlight.
h) Check your samples every day and write down what you see for each of them. Do you see anything? What shapes and colours can you see? Do some bacteria grow faster than others? Do some of your locations have more kinds of bacteria than others? Which ones?
USE CAUTION! Some bacteria that you may get from your samples could cause you to get sick if you touch, smell, or taste them. DON’T!
i) After 1 week, use a spoon to scoop the agar from each dish into the garbage or compost. Don’t touch it! Clean the dishes again using boiled water to kill any leftover bacteria (just like in STEP 1).
Science fair project that examines how to grow bacteria in a controlled setting, using simple materials from around the home:

