Make a Glacier
 Wouldn’t it be great if you could camp out beside a glacier in the mountains for a few years, enjoying the views and the fresh air while you studied how the glacier moved and changed?
Some people actually get to do this for a living, but for the rest of us who are interested in glaciers but don’t have hiking boots, here’s a way to make a model of one for study instead.
The Experiment
What do you think will happen?
 Anytime you prepare an experiment, it’s a good idea to make a statement of what you are trying to test and predictions of what you think will happen. Read this experiment through to the end first, then write down what you expect to see with the glacier.
What to Use
- a tray, metal or plastic, that can fit easily in your freezer
- another tray the same size or bigger (this won’t go in the freezer)
- a freezer that you can easily put your tray into
- ice cream (try to use a flavour without chuncks or ripples, just one solid flavour)
- sand and gravel (or for more fun, use small sand-sized candies like Nerds, and rock-sized candies like jelly beans – use many different sizes)
- modelling clay
- toothpicks
- paper and a pen
- gluestick
What do you think will happen?
How do you think your glacier will behave? What will it look like? Try writing down some predictions, in words or in pictures depending on what you prefer!
What to Do
STEP 1 – Prepare Your Glacier
a) Glaciers generally form in mountains at high altitude where there is a lot of snowfall and it is cold enough to keep ice frozen for most of the year. You’ll have to use your freezer for that! The tray that fits in your freezer will represent the mountain slope. In order to prepare your landscape, scatter sand and gravel all over the tray (use real or candy sand and gravel, as discussed above). Be generous – put lots on the tray to form a thick layer.
b) Make flags by cutting out small rectangles of paper, folding them over toothpicks, then gluing the two halves together. Use a piece of modelling clay to stick a toothpick to the tray. Use the pen to label the flags as necessary.
c) At one end of your tray, measure out about a hand’s width from the edge and stick on a flag with the label “Accumulation Zone” to the tray. The flag will mark an invisible line, above which snow will fall, or in your case, the area where you can add ice cream to your glacier. Put a great big dollop of ice cream on the tray back from this line. Now you have a glacier.
Of course, glaciers flow down slope, so you need to create a slope for them by keeping the tray at a bit of an angle at all times. To do this, find something solid (about 5cm should be a good enough height) that can prop up the “Accumulation Zone” end of the tray both outside and in the freezer.
STEP 2 – Winter/Summer Simulation
d) Can you imagine a way to simulate the changes between winter and summer on your glacier? One way is to put it in and out of the freezer. However, ice cream melts faster than water, so a good rule is in the freezer for 30 minutes, out for 5 minutes, but you can also try your own timing. Make sure you leave your ice cream time to melt, but don’t let it melt all the way.
e) Every time you have your glacier out of the freezer it will start to melt. Just before putting it back in the freezer, mark a flag (“Year 1”, “Year 2” etc.) at the farthest point down the slope that the solid ice cream gets to. When the glacier is out of the freezer, put your second tray under the lower end of the main try so that any sticky, melty, and dirty ice cream will collect in the second tray. Don’t eat this stuff, unless you want to sand your insides!!
f) Every time you take the tray out of the freezer, add another dollop of ice cream in the accumulation area to represent the snow that would have fall on the glacier during the “winter” in the freezer (if you fit, you can do this inside of your freezer for an even more real simulation!).
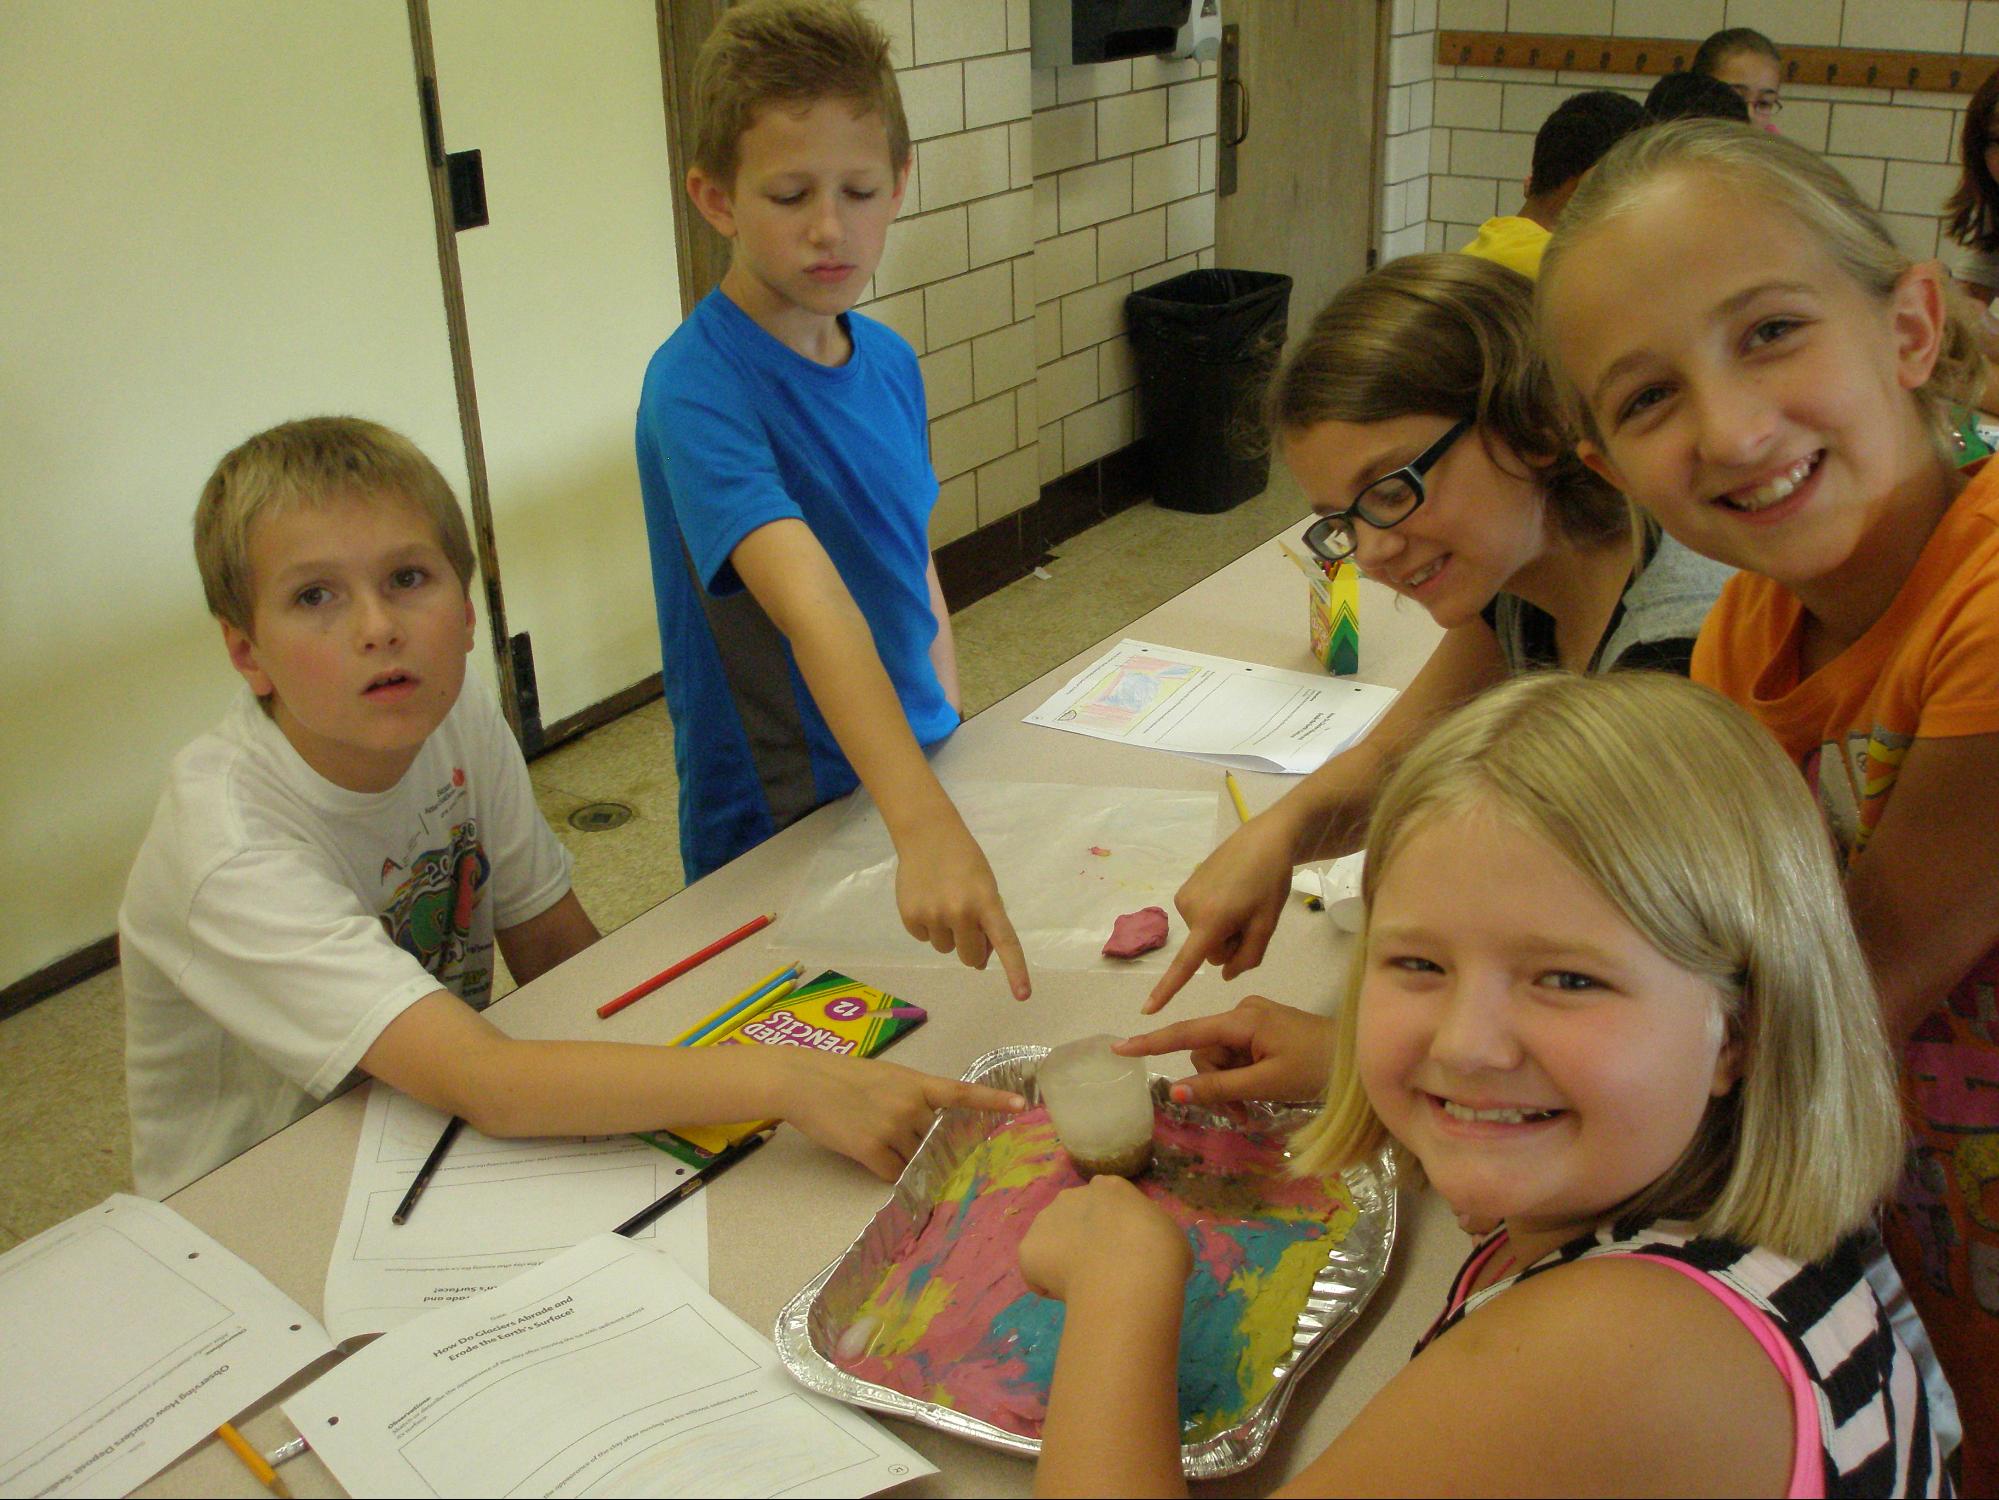
STEP 3 – Observations
g) Run your experiment through a few years of summer/winter cycles. If you really want to, you can continue the experiment for days. Keep marking the maximum extent of your glacier with flags. Some real glacier scientists (called “glaciologists”, if you must know) actually drill holes into real glaciers and stick in thick steel poles that get left in – the bending of the pole can show how the glacier moves. So why not stick in a bit of wire and see how yours moves and bends over time?
h) If you have a camera, try taking close up photos of the glacier and look on the Internet to compare these to real glaciers to see if there are any similarities in the way they move and melt.
i) When you’re all finished pull the solid ice cream off of your tray and get rid of it (please, please don’t eat ice cream with sand in it!!). Look at the sand and gravel landscape left over. Did the glacier have any effect on this landscape?
What Did You Find?
What were your results? Did your glacier move as much as you expected? Did it change the landscape and create and interesting features that you may have seen in real life with actual rocks in mountainous areas? Did you get any good pictures that make it look like a real glacier?